
Process Reference
How We Work
A step-by-step look at how we run a solar removal and the reinstall that follows — and how we leave the roof for your tear-off crew.
Phase 01
Removal
From the first schedule call to a roof cleared, sealed, and ready for your tear-off crew to start.
Step 01
We Schedule Your Removal
- Our scheduling team coordinates with you and the homeowner to get your removal on the calendar around your tear-off date.
- Homeowner information needs to be shared with us before the removal — we use it to gather system details from the homeowner, like monitoring access.
- The plan is confirmed with your crew ahead of time, so nothing stalls on site.

Step 02
The Arrival Window Call
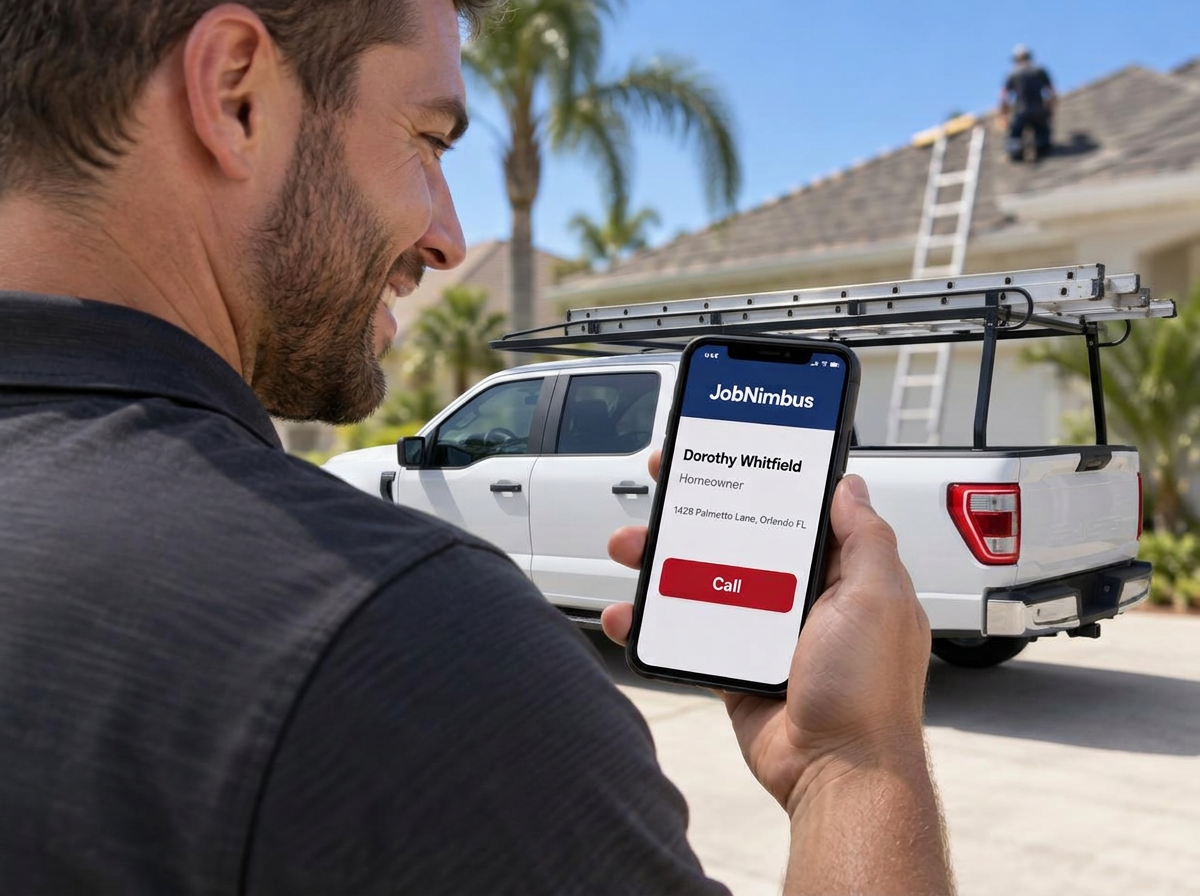
- On the day of the removal, our lead technician calls the homeowner directly.
- The homeowner gets an exact arrival window — nobody on site is left guessing when we'll pull up.
Step 03
We Photograph the Arrays and Equipment
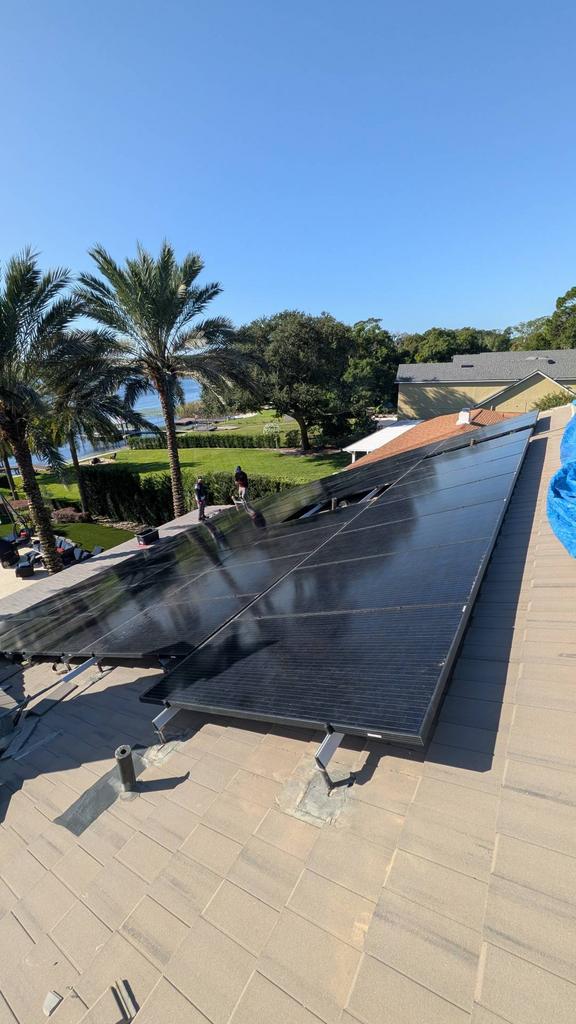
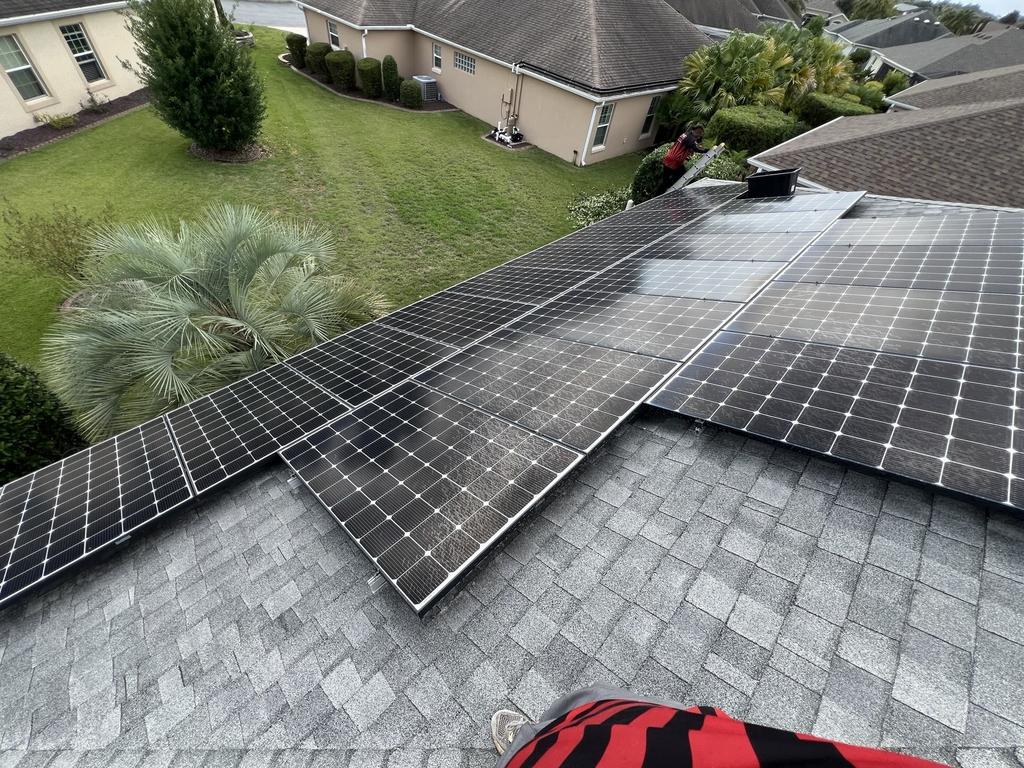
- Before anything comes off the roof, we photograph the arrays and all equipment.
- You get a clear record of exactly what is up there and its condition before we touch a single bolt.
Step 04
System Removal
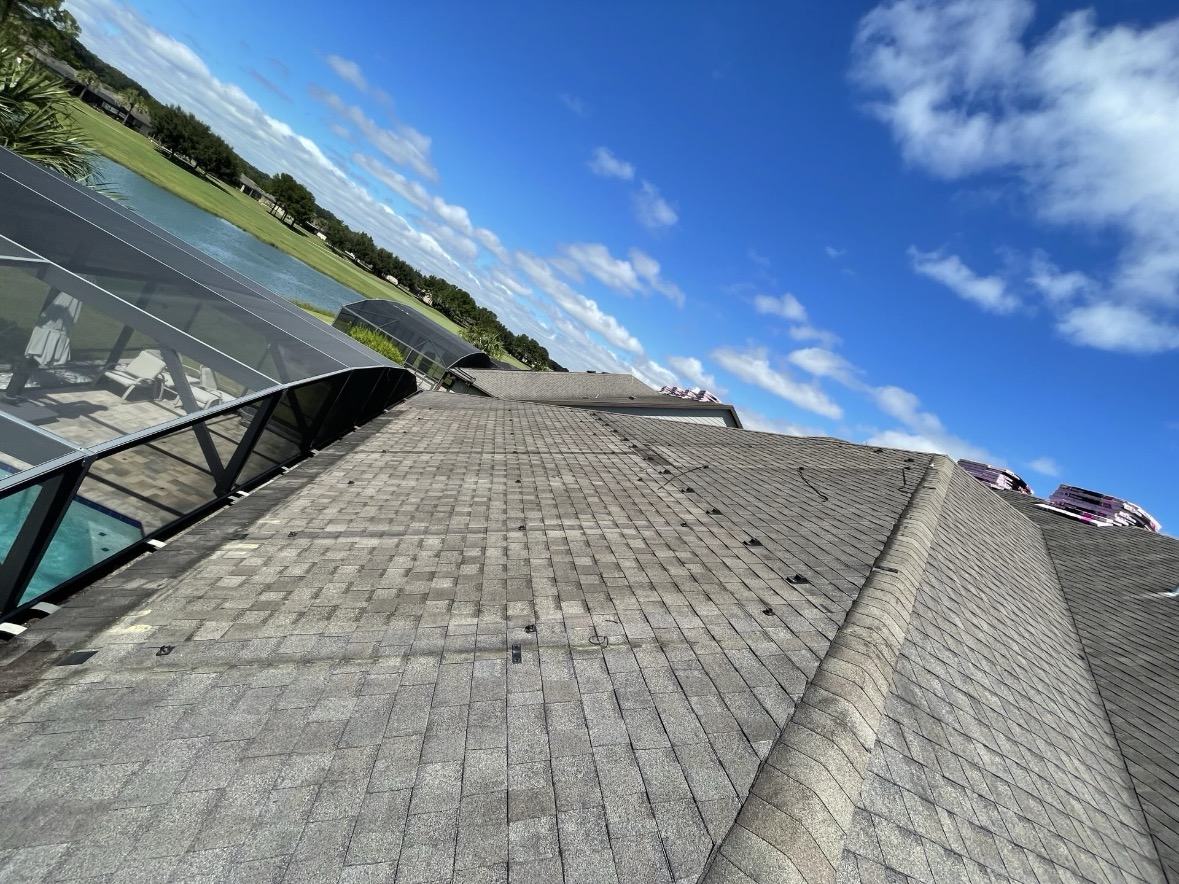
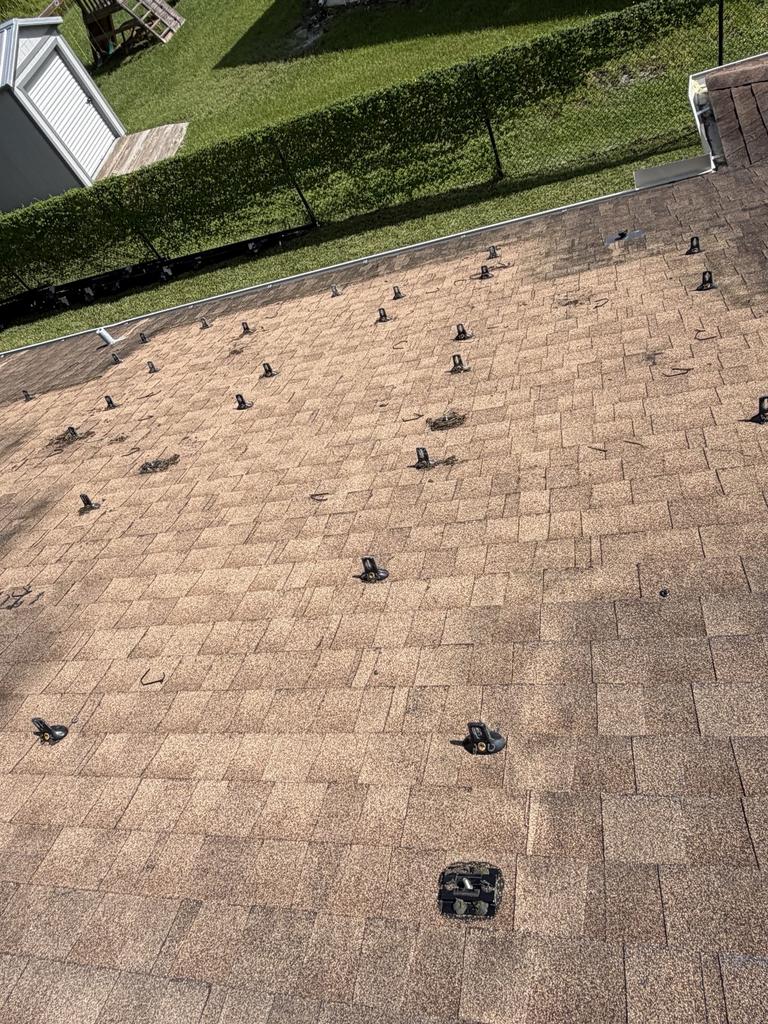
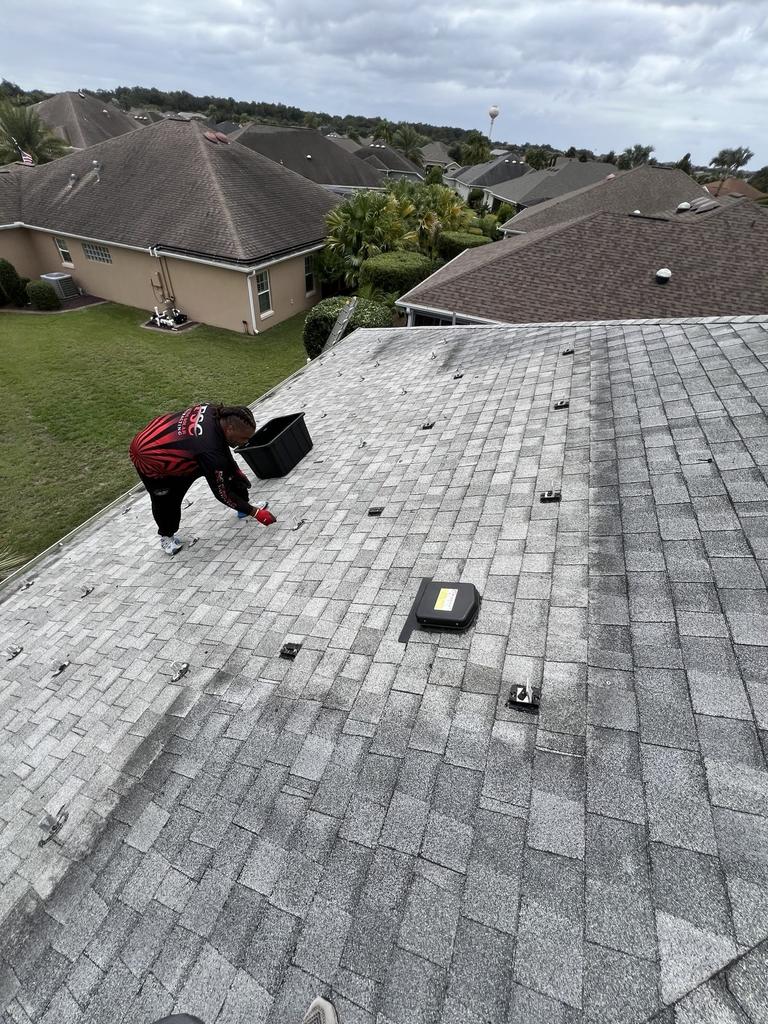
- Everything comes down — panels, rails, and equipment — and the roof is left cleared and ready for your tear-off crew to start.
- The mounts left in place can be pulled and hauled off with your roof materials.
- Every hole is sealed watertight, so the roof stays dry until the tear-off and re-roof are done.
Step 05
Roofing Crew Instructions: Protect the J-Boxes
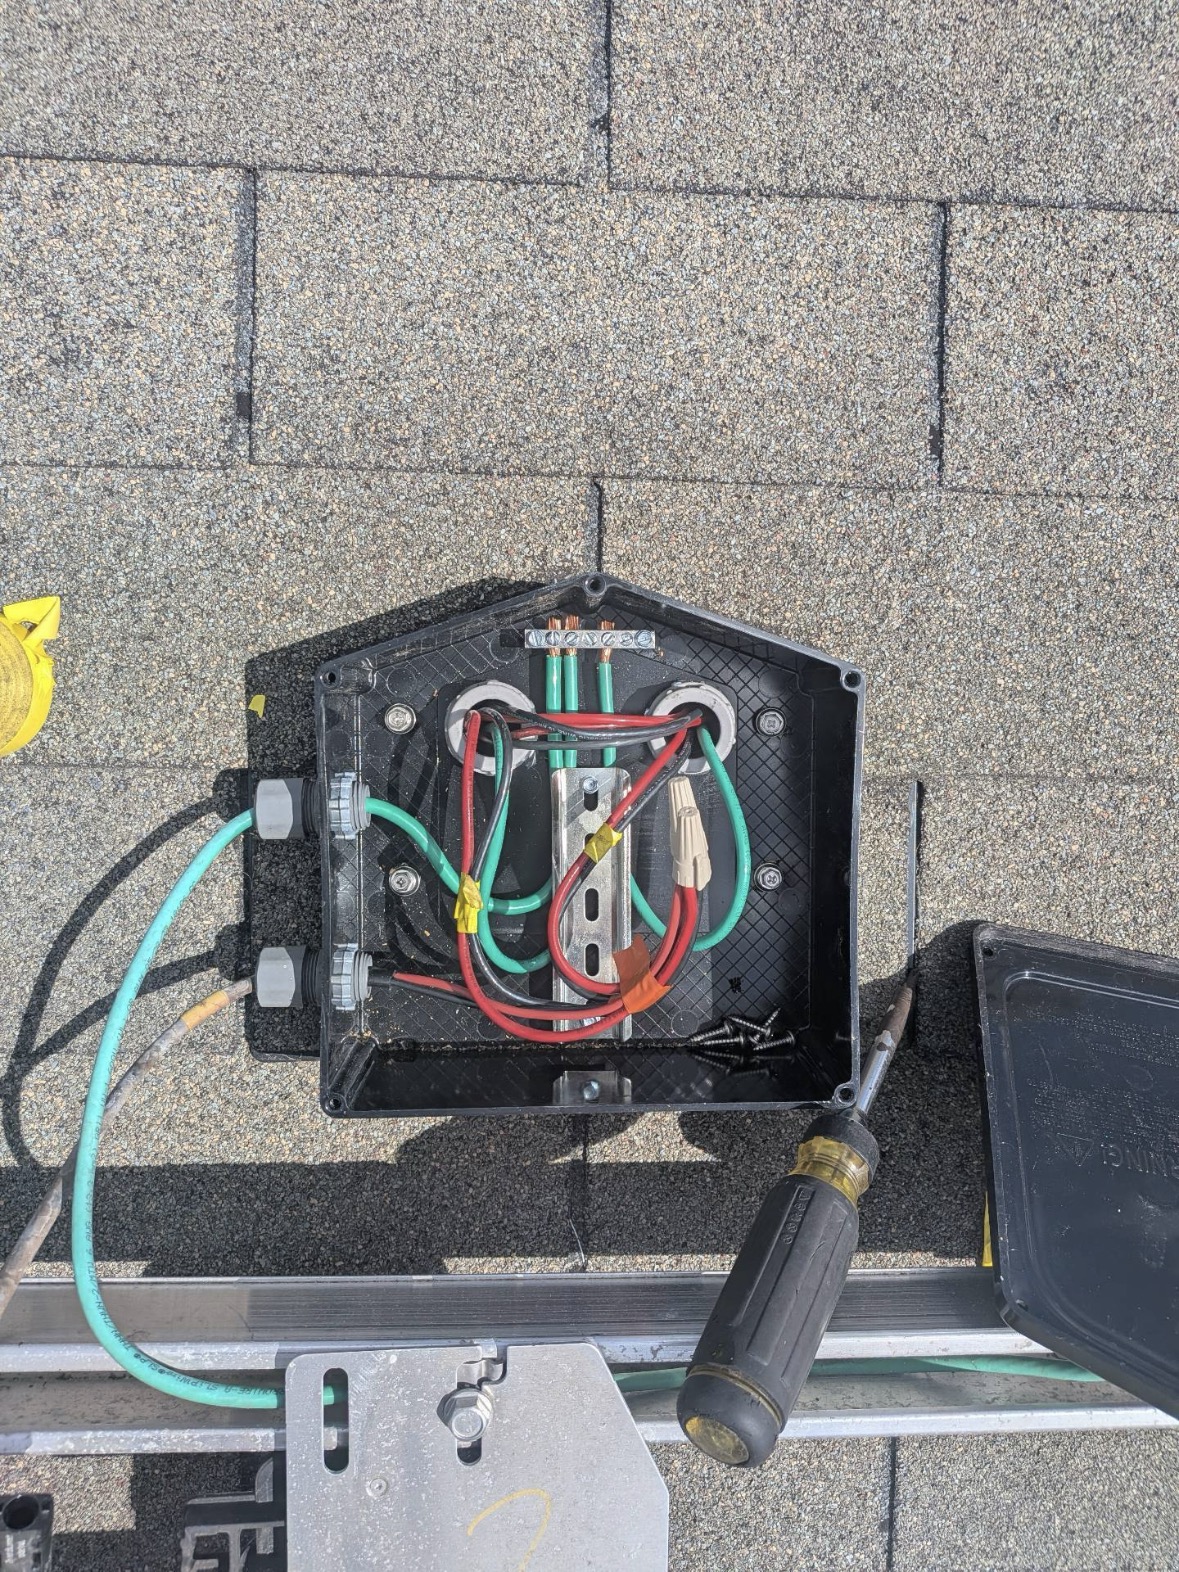
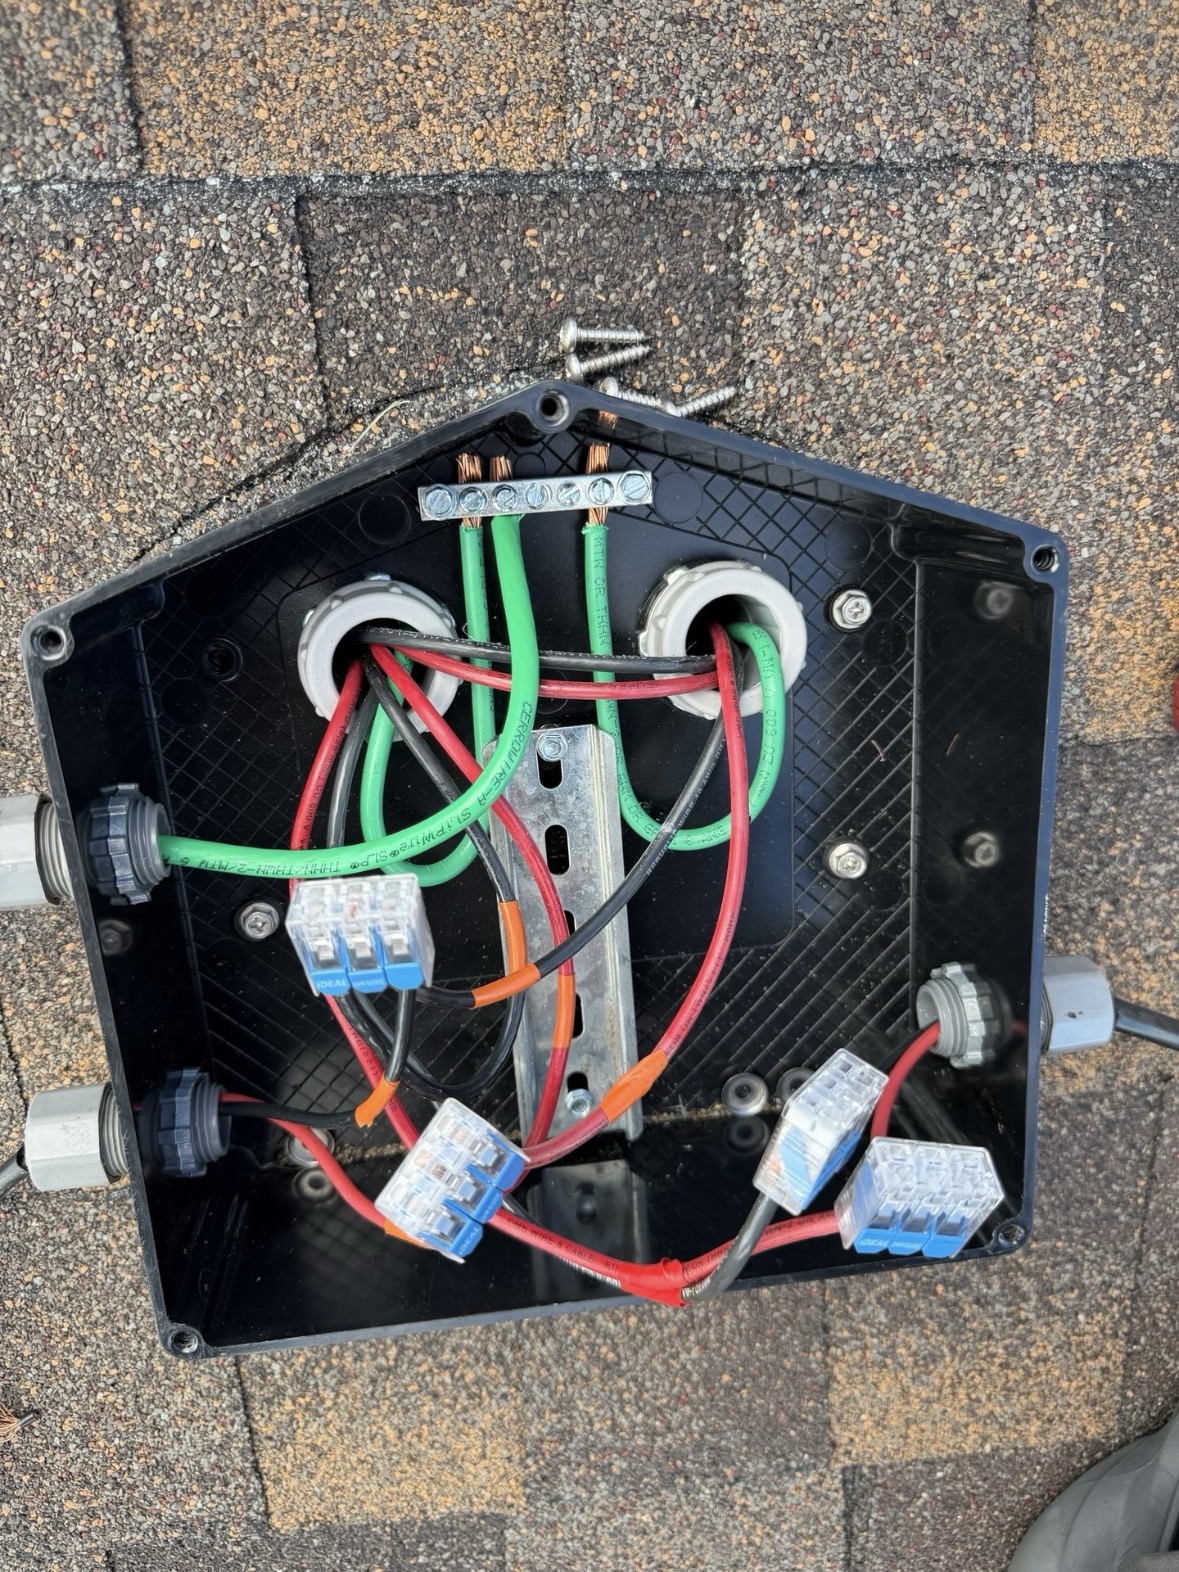
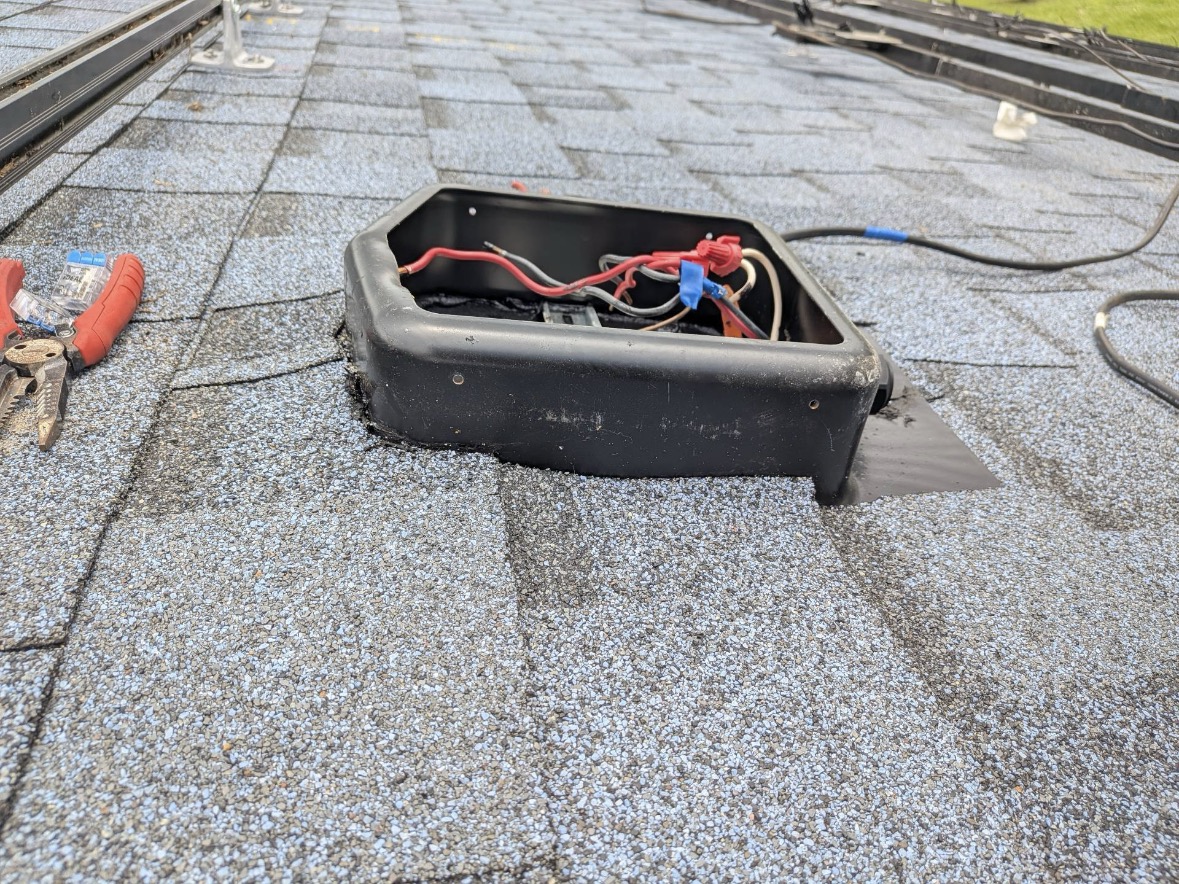
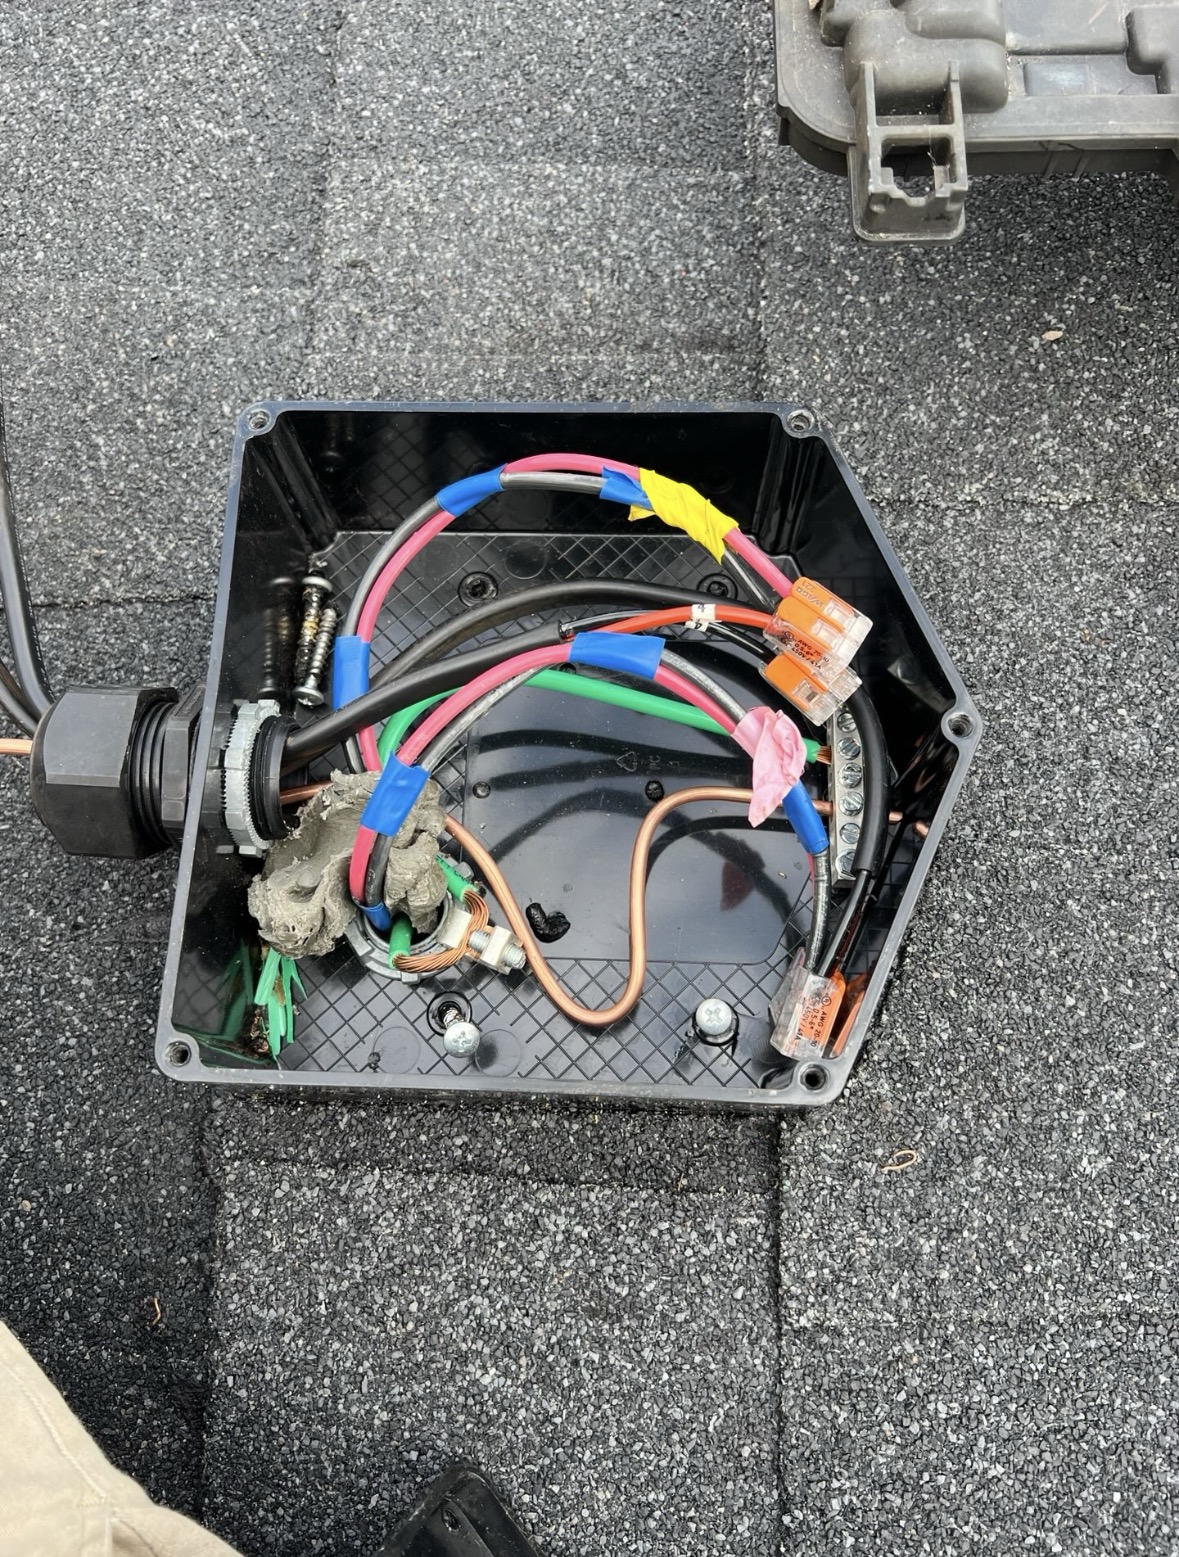
Tell your crew: leave the J-boxes in place. Do not remove, puncture, cut, or damage them. Work and shingle around them.
The J-boxes are the connection points for the solar system. They stay on the roof through the tear-off so we can reconnect everything at the reinstall. Here's what your crew needs to do:
- Leave every J-box in place — they are never removed during the tear-off.
- Do not puncture, cut, or damage the box or the wiring inside it.
- Treat each J-box like any other roof penetration — work and shingle around it, preserving the integrity of the box and the penetration.
- Florida Solar Contracting ensures the penetrations stay watertight — your crew just needs to leave them alone and shingle around them.
Step 06
Panels and Equipment Stored Safely
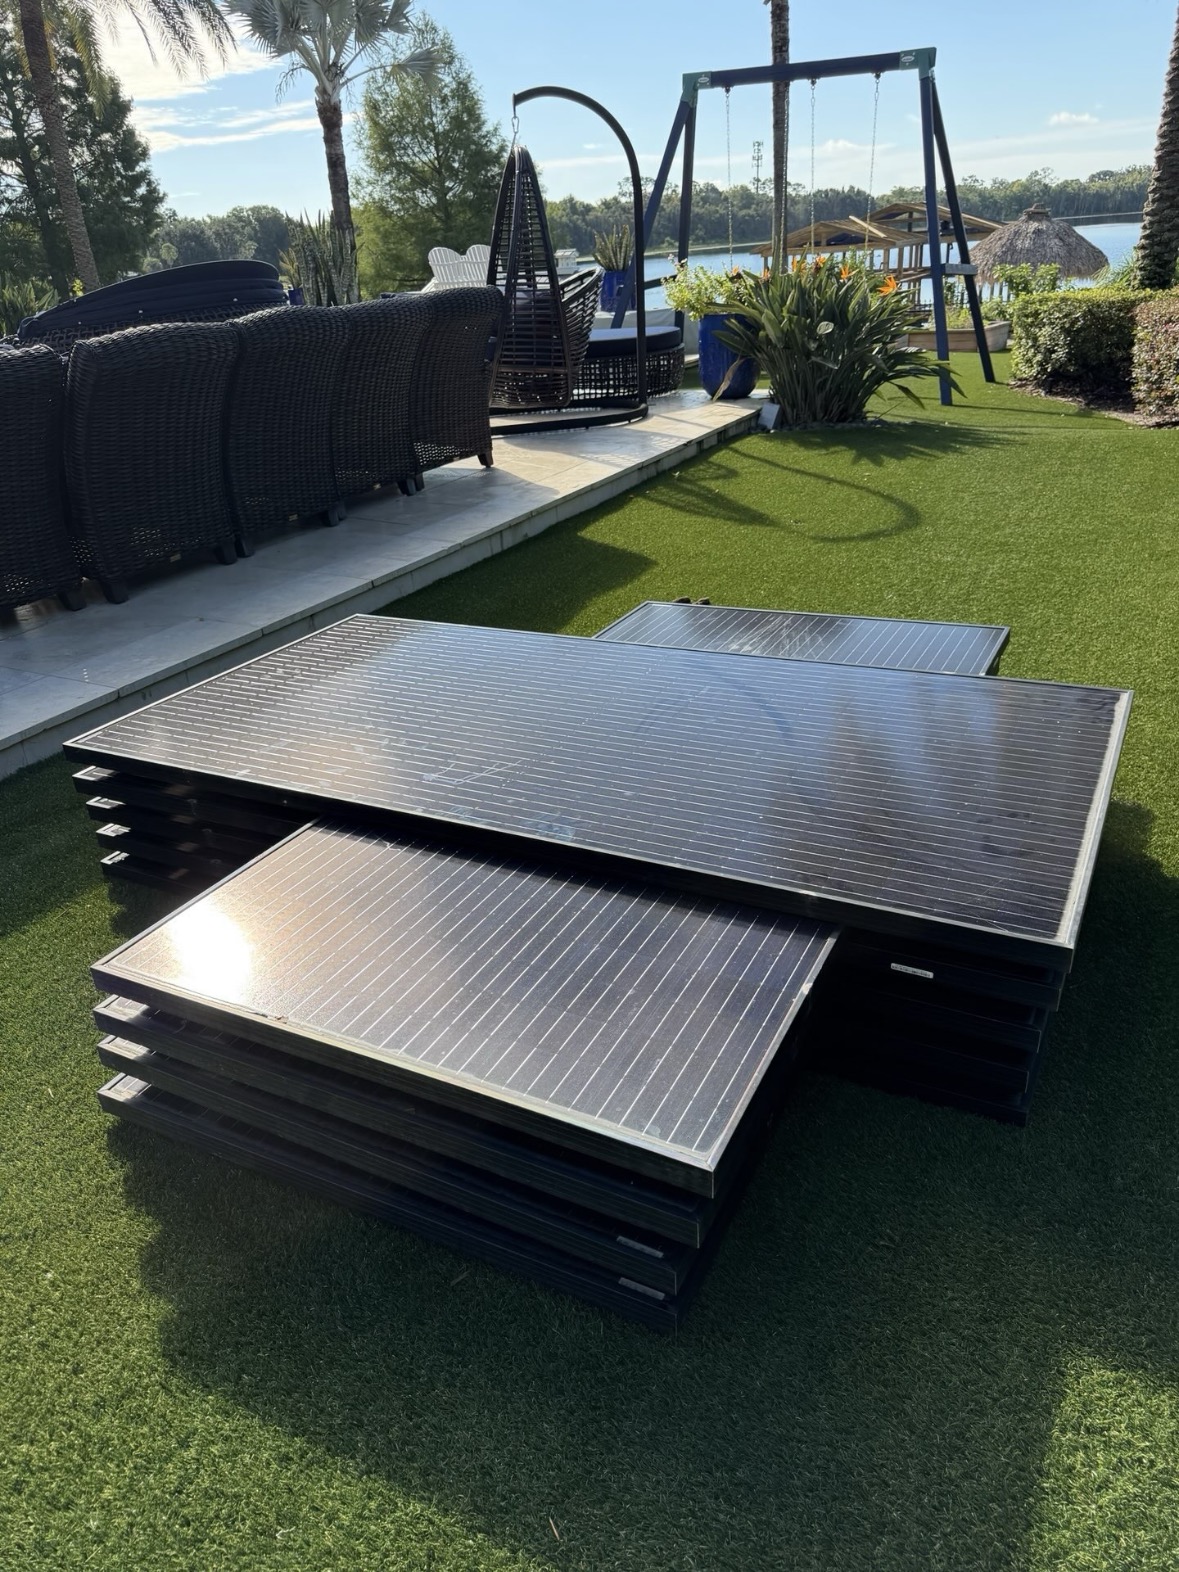
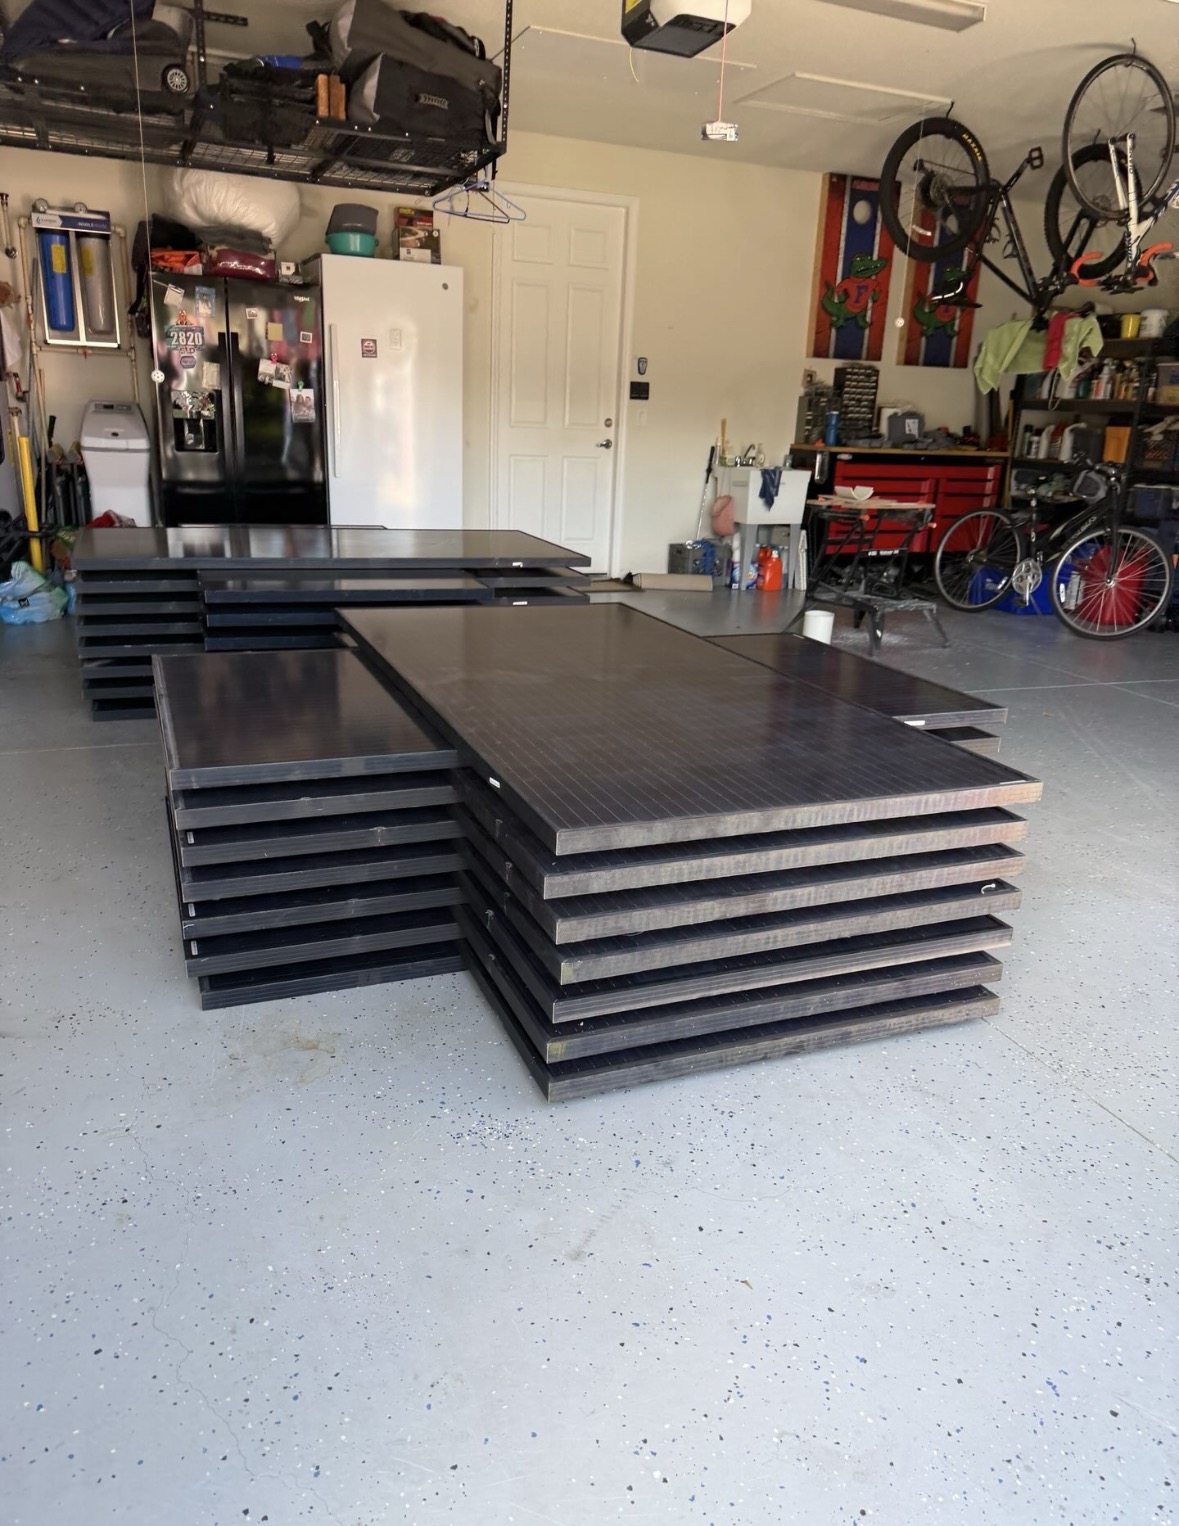
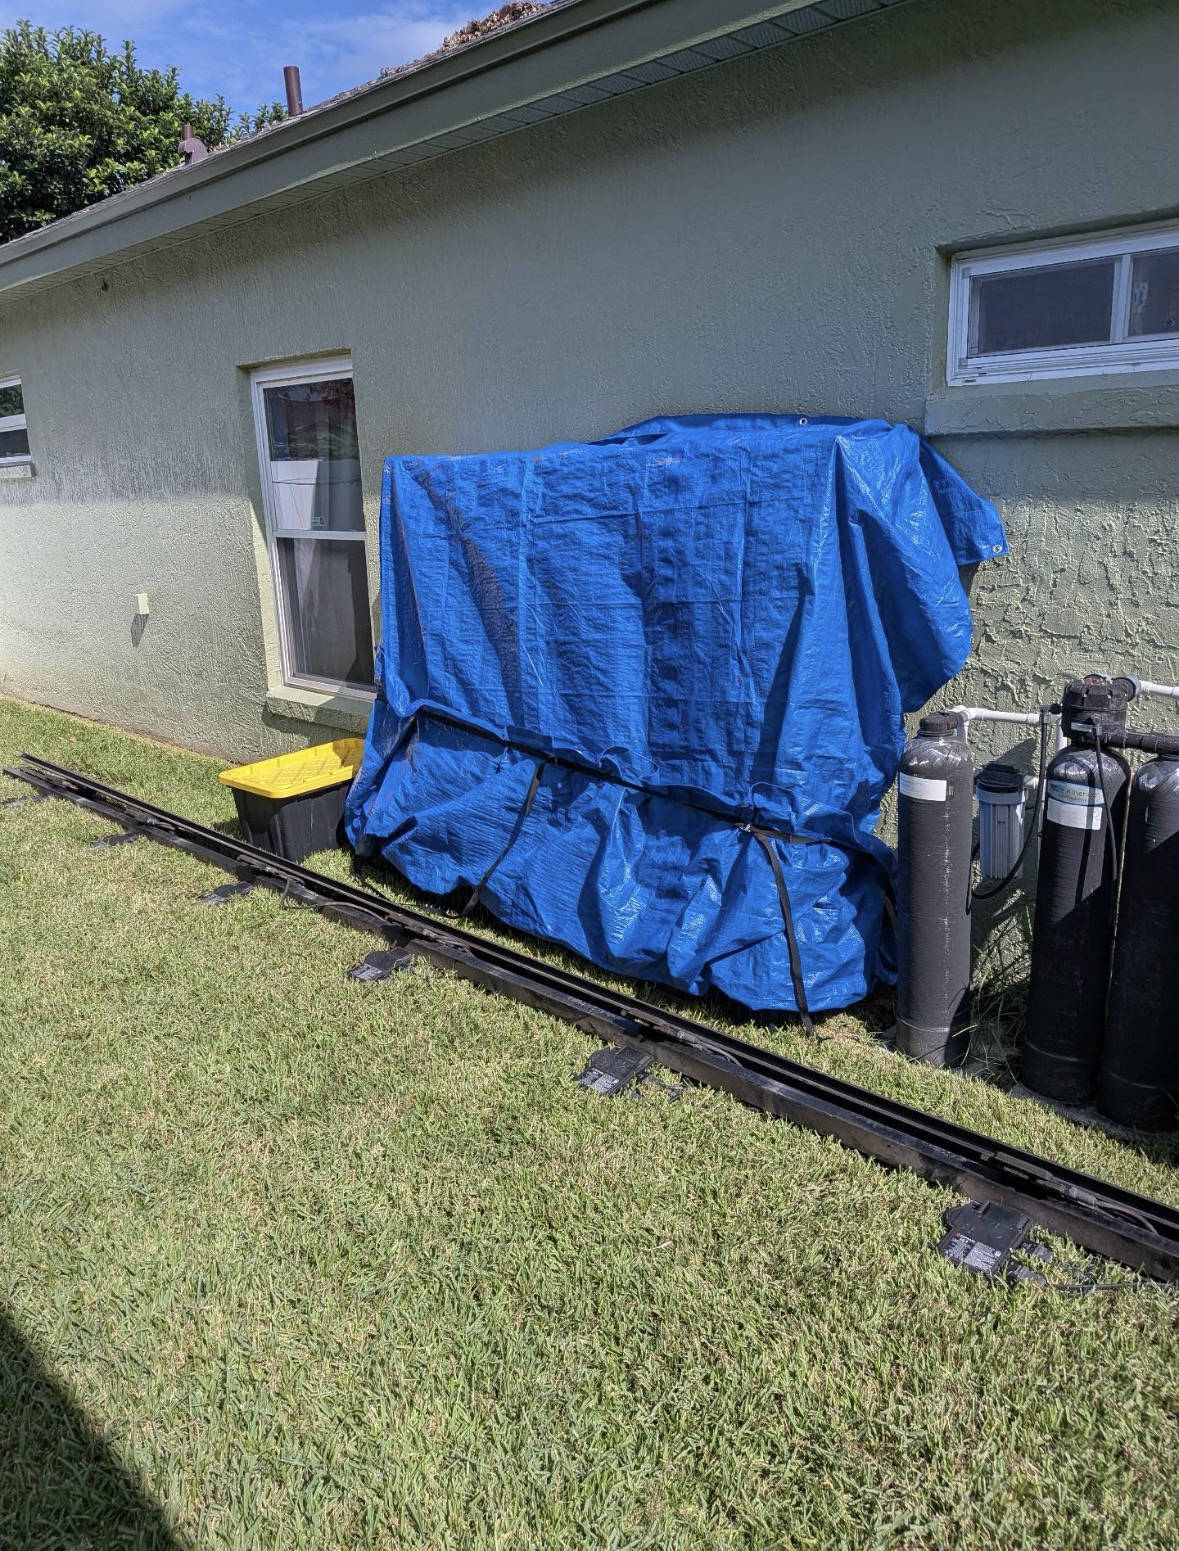
- Panels go straight to the ground and are stacked flat, clear of the roofline.
- They're stored in the yard, on the garage floor, or covered with a tarp — so falling tear-off debris can't crack them.
Step 07
We Document Everything
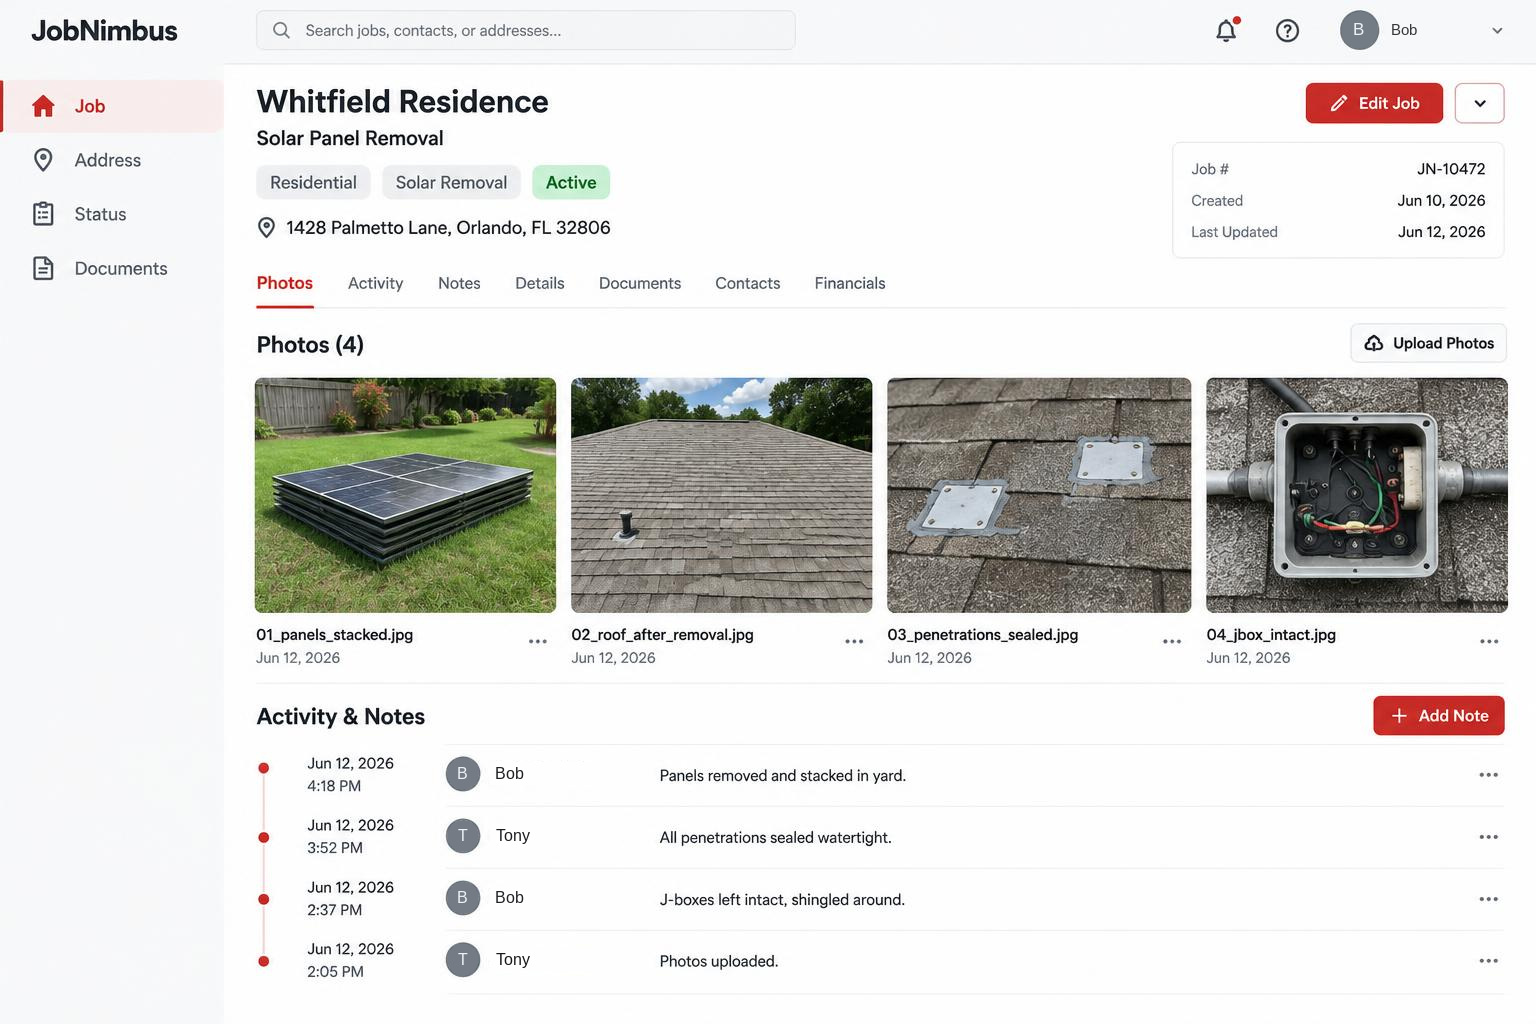
- Once the system is down and stored, we take extensive photos and document everything.
- You get a full record of the removal and the reinstall.
- We share the contact with you in our JobNimbus CRM, so the whole job record is at your fingertips.
Phase 02
Reinstall
Our team schedules the reinstall once we get confirmation of the final passed roof inspection, and we coordinate a day with you and the homeowner.
Step 08
We Schedule the Reinstall
The reinstall doesn't go on the calendar the day the roof is finished — it goes on once the inspection is confirmed. Here's how it works:
- Your team completes the roof and the final inspection passes.
- We receive confirmation of the final passed roof inspection.
- Our team coordinates with you and the homeowner to schedule the reinstall and pick a day that works.

Step 09
New Mounting Hardware Goes On
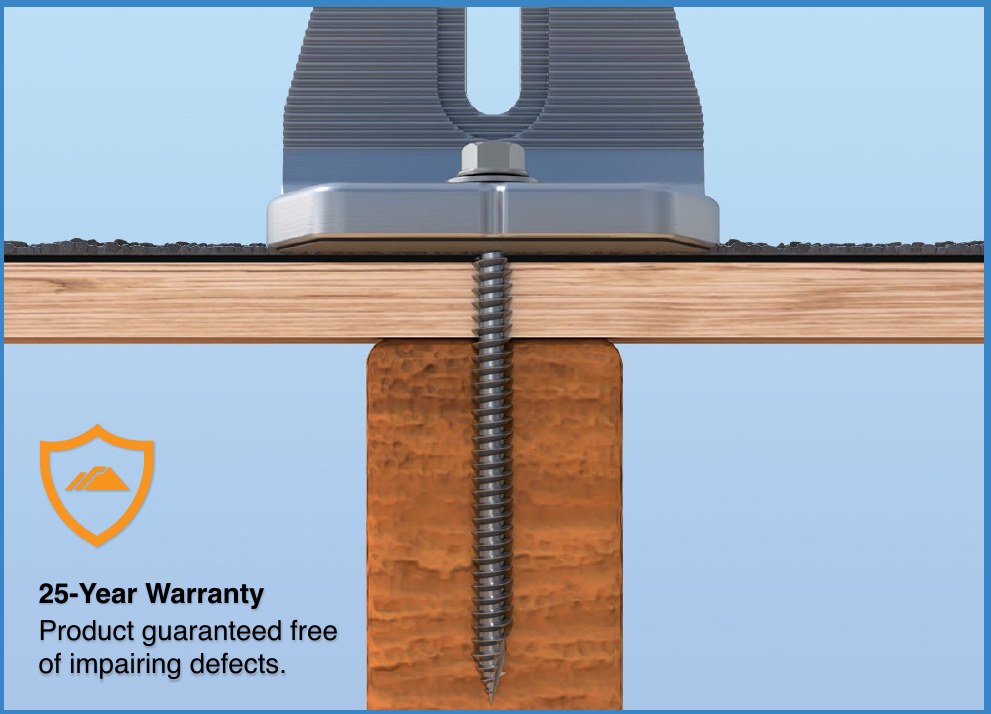
- Every reinstall goes back on brand-new IronRidge QuickMount HUG (Halo UltraGrip) mounts — nothing is reused from the old array.
- No prying up shingles: a foam-and-mastic seal sticks to the shingle surface and fills gaps and step-downs.
- A raised cast-aluminum halo surrounds that seal, and each structural screw has a rubber sealing washer — layer after layer of waterproofing.
- Mounts go into the rafters wherever possible; if a rafter is missed, the mount is secured to the deck with six screws instead.
- Every new mount is backed by our 25-year leak warranty.
- Rated and tested: UL 2703 / 2703A, passed rain and wind-driven rain testing, and rated for 1,004 lbs of uplift on a rafter.
Step 10
Panels Come Back to the Roof
- Panels and equipment come out of storage and get a look-over for any damage from the tear-off.
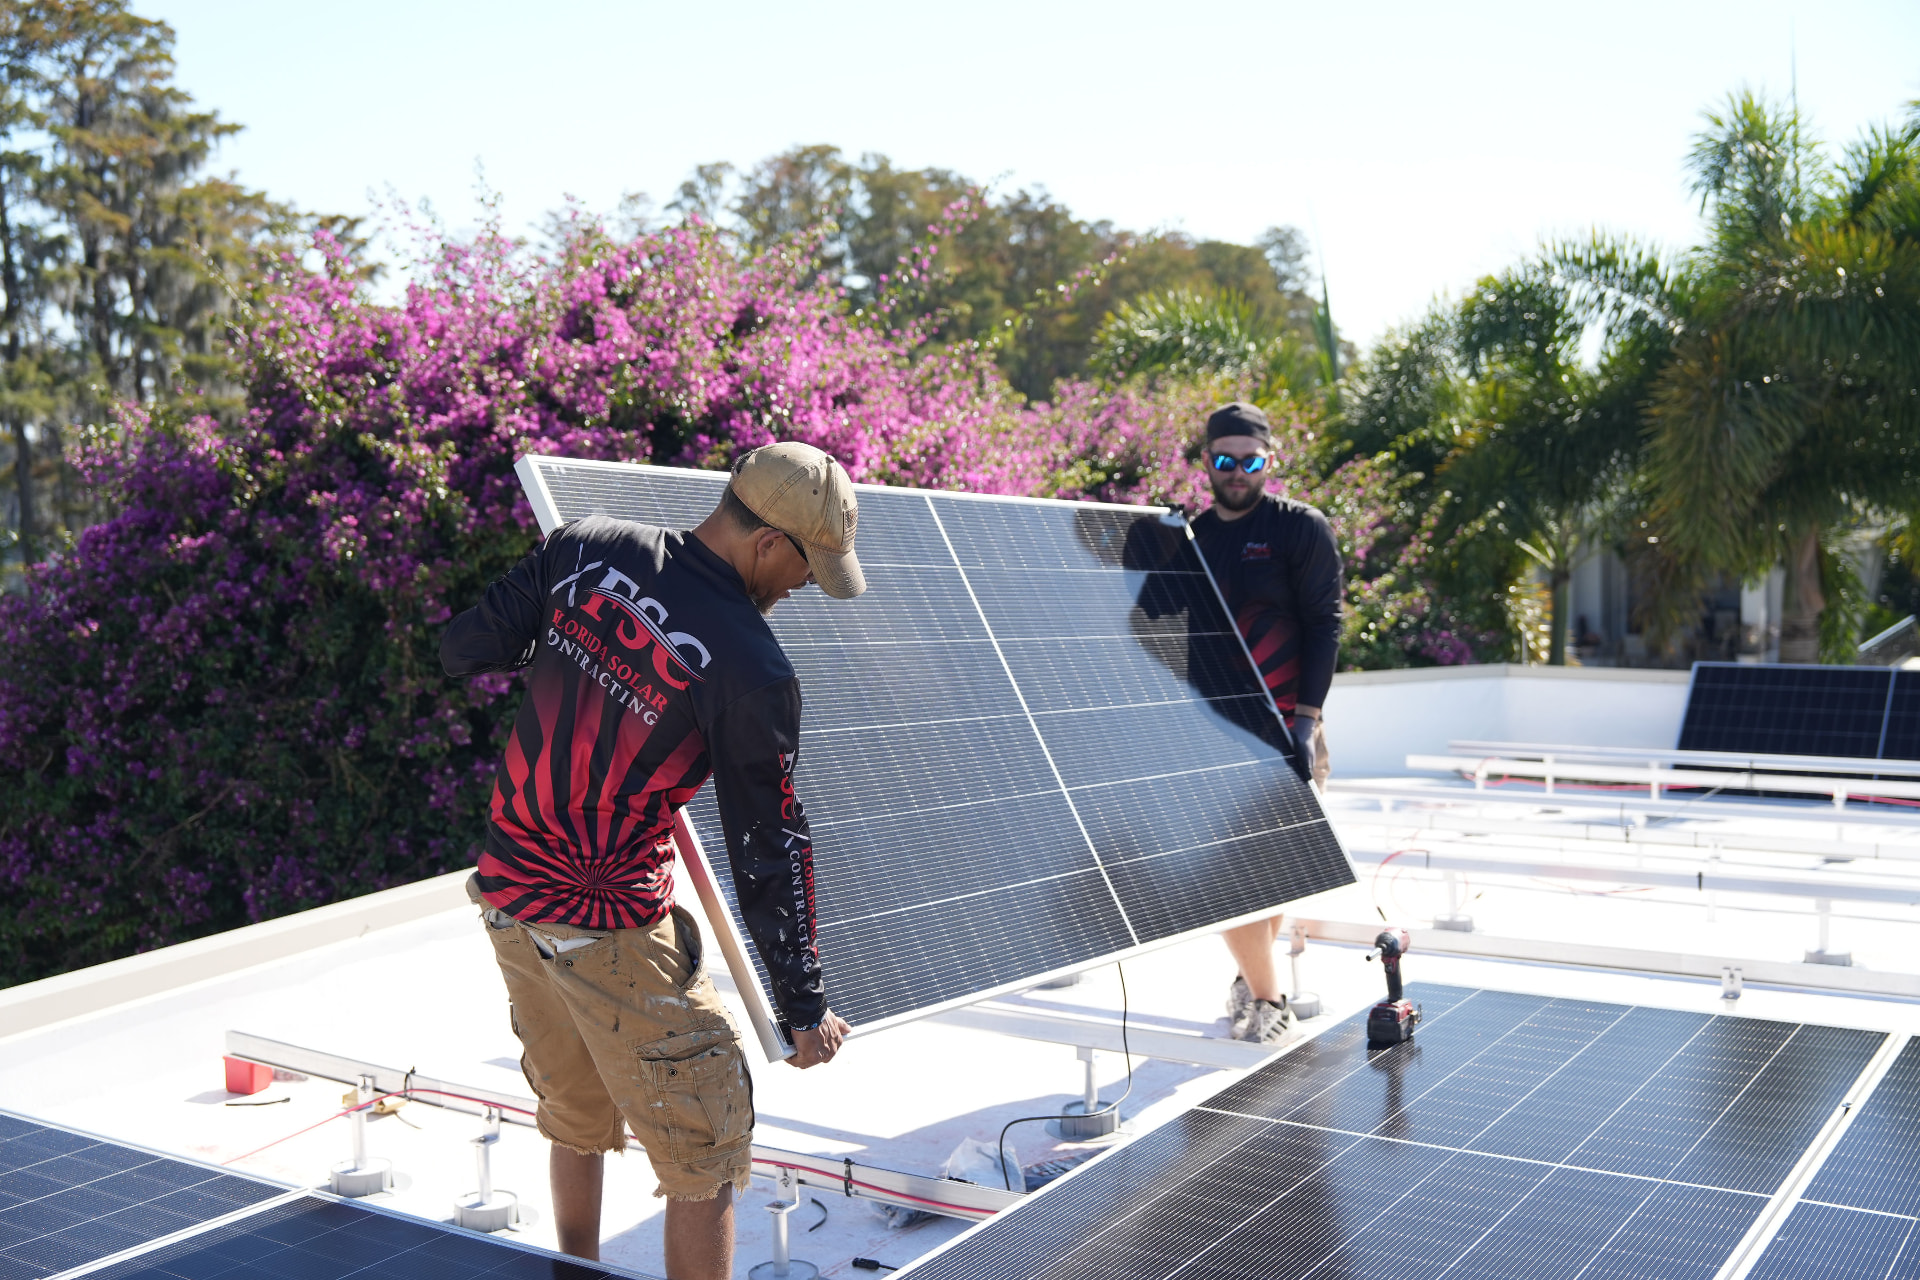
- They go back up to the roof — the same panels that came down, handled the same careful way.
Step 11
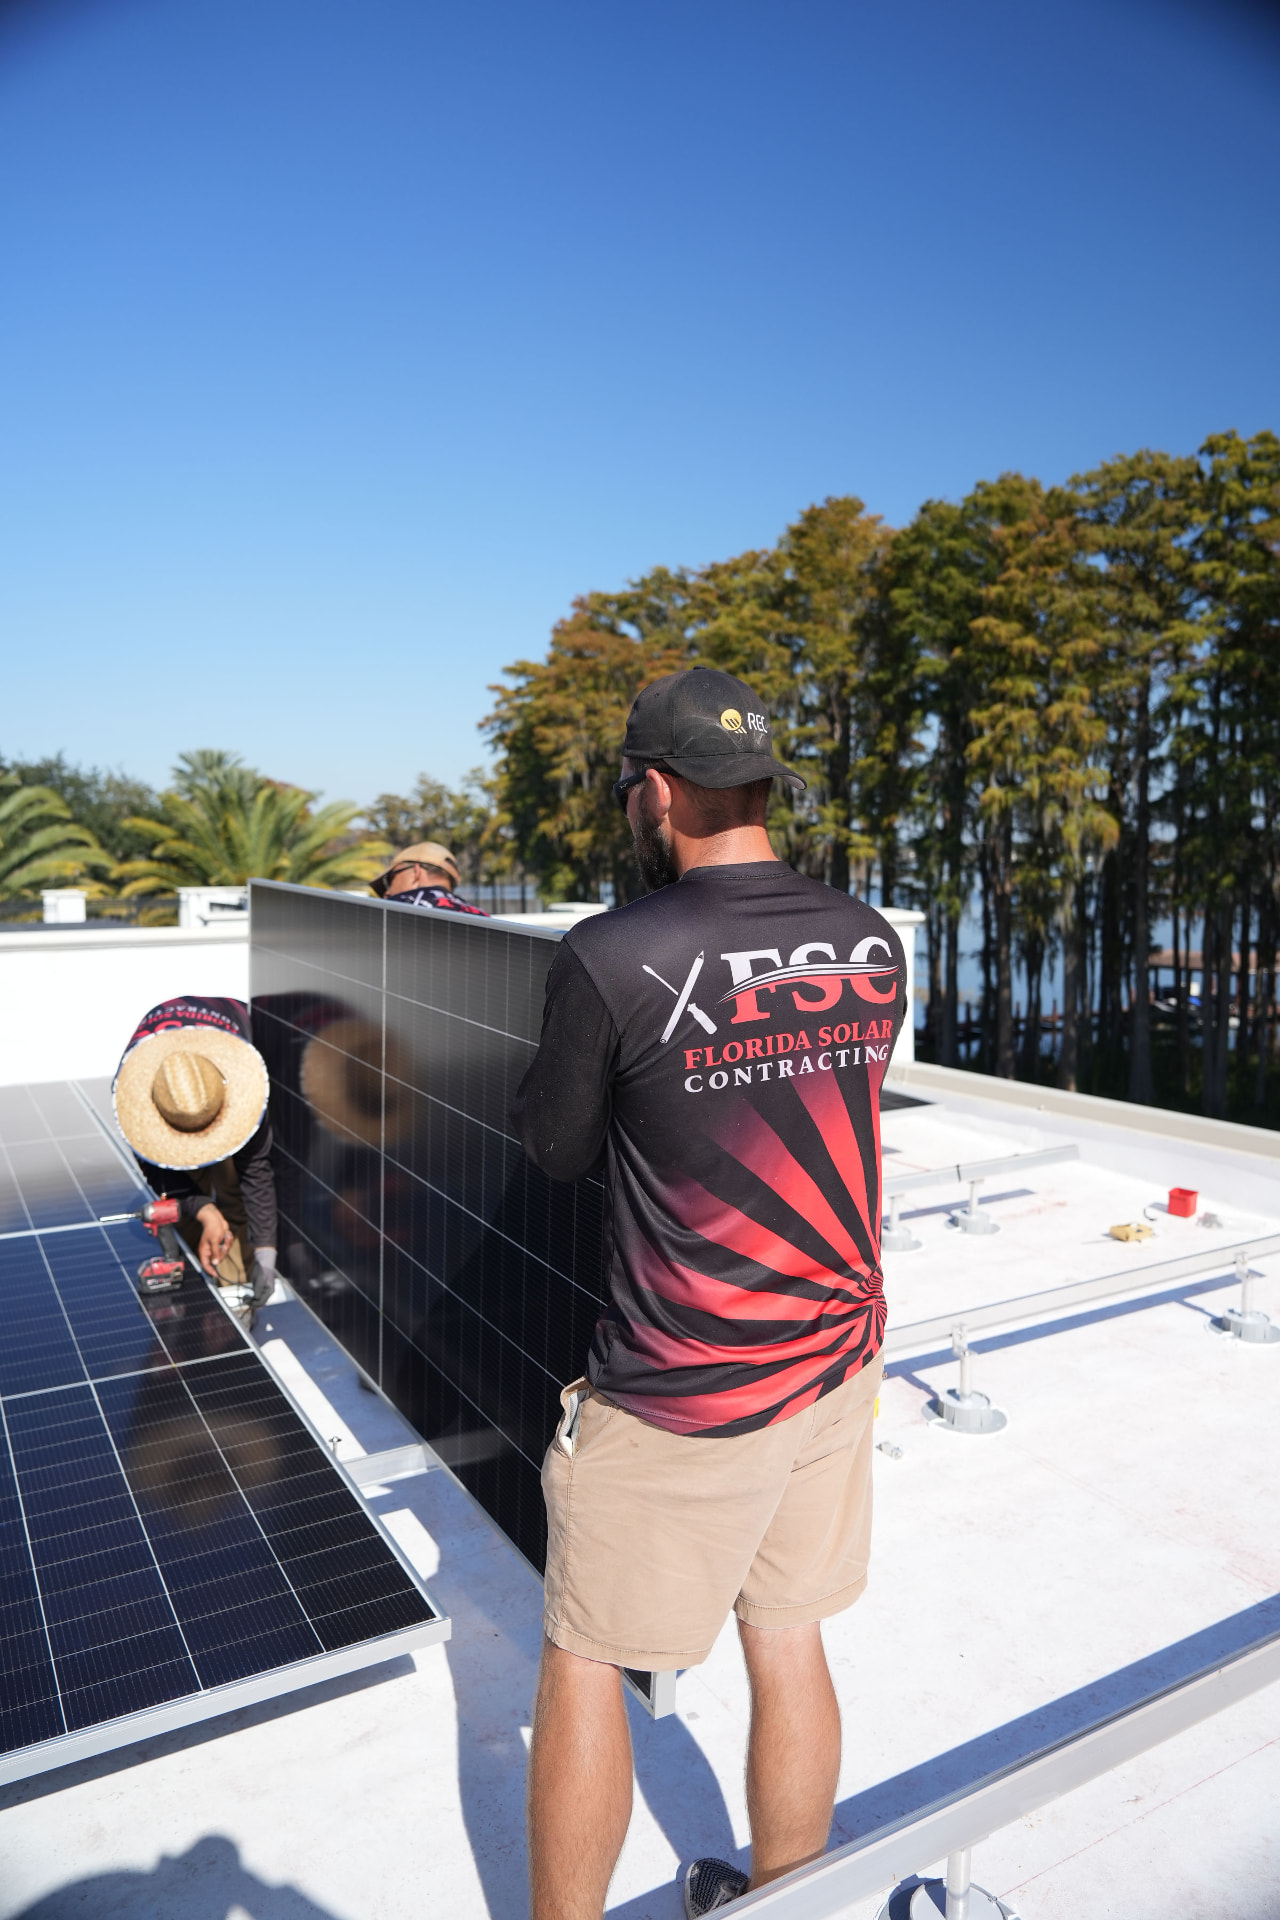
Arrays Are Set and Secured
- Panels are set on the layout and secured to the racking.
- The array is checked across the roof before any wiring is re-run.
Step 12
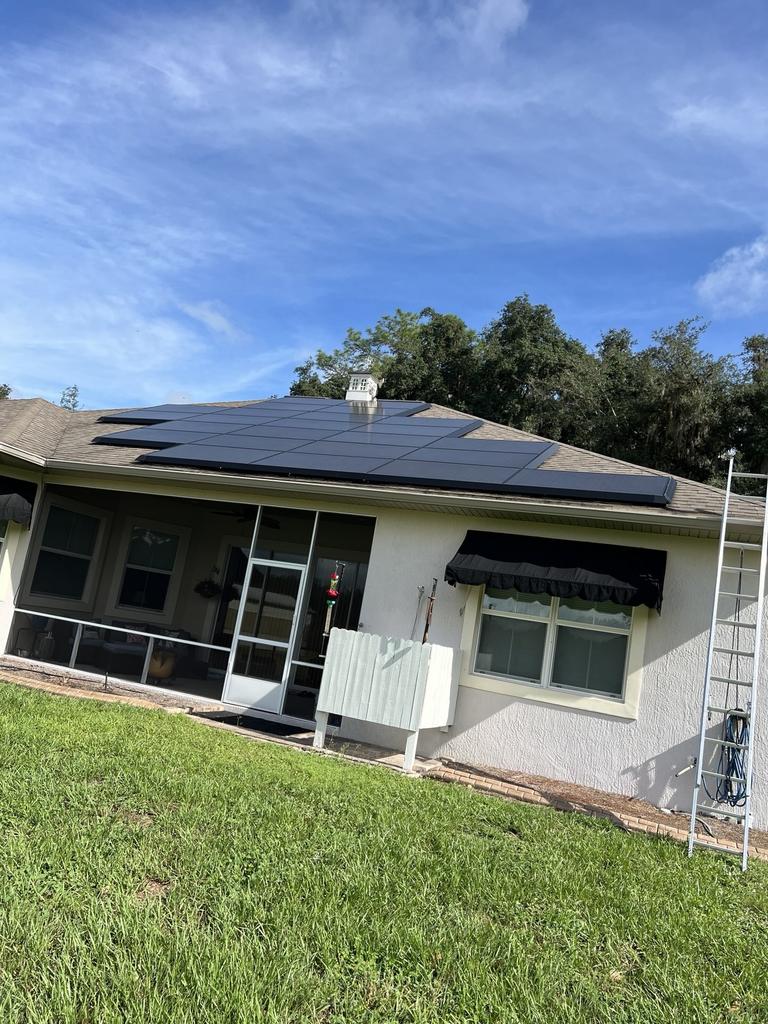
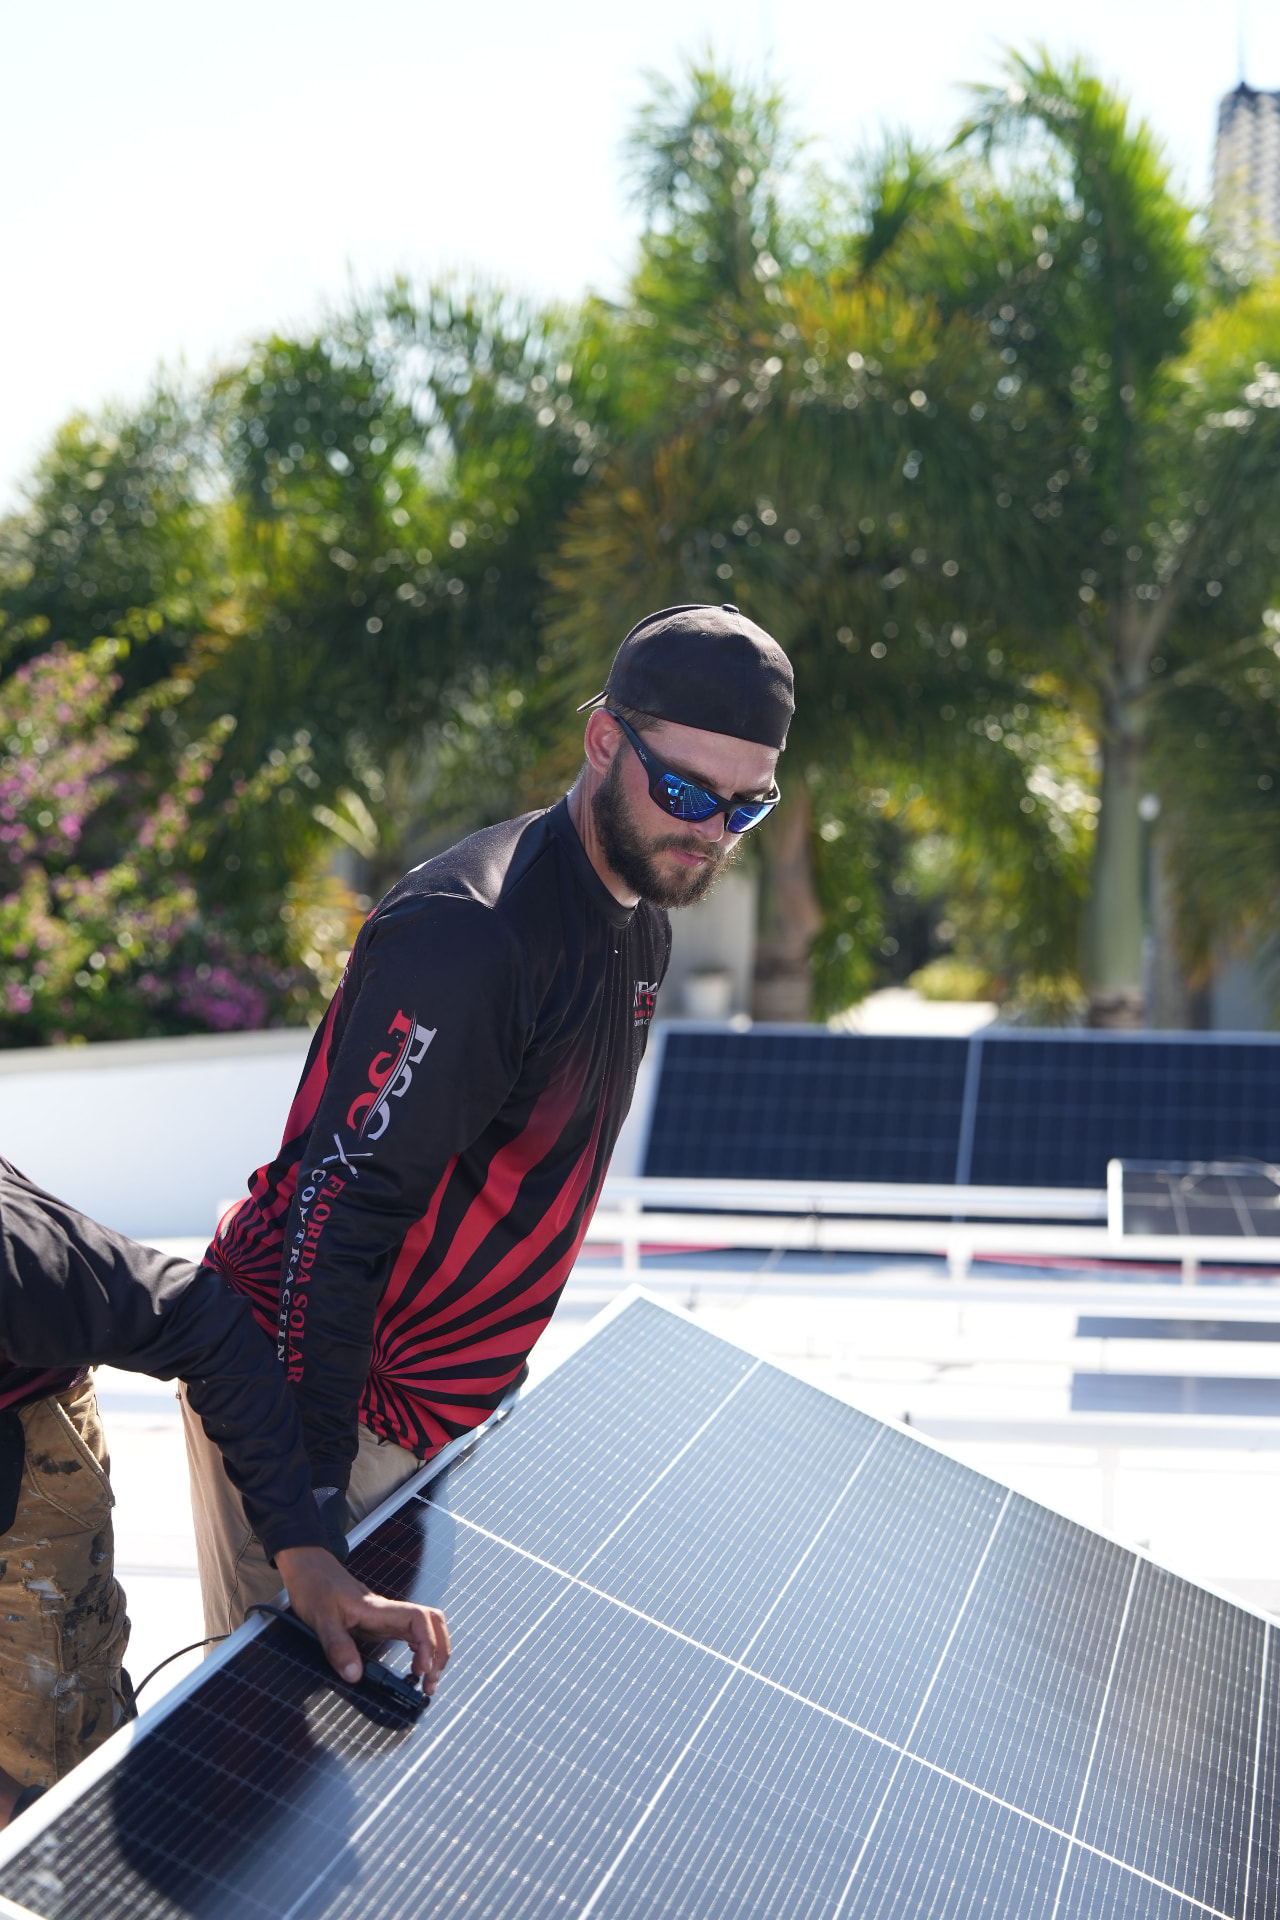
System Reconnected and Documented
- Wiring goes back into the existing J-boxes and the disconnect.
- The system is brought back online and checked.
- We confirm the system's production numbers and make sure it's working the same as before we arrived.
- The reinstall is photographed and logged the same way the removal was — a complete record from the first call to the system back on.
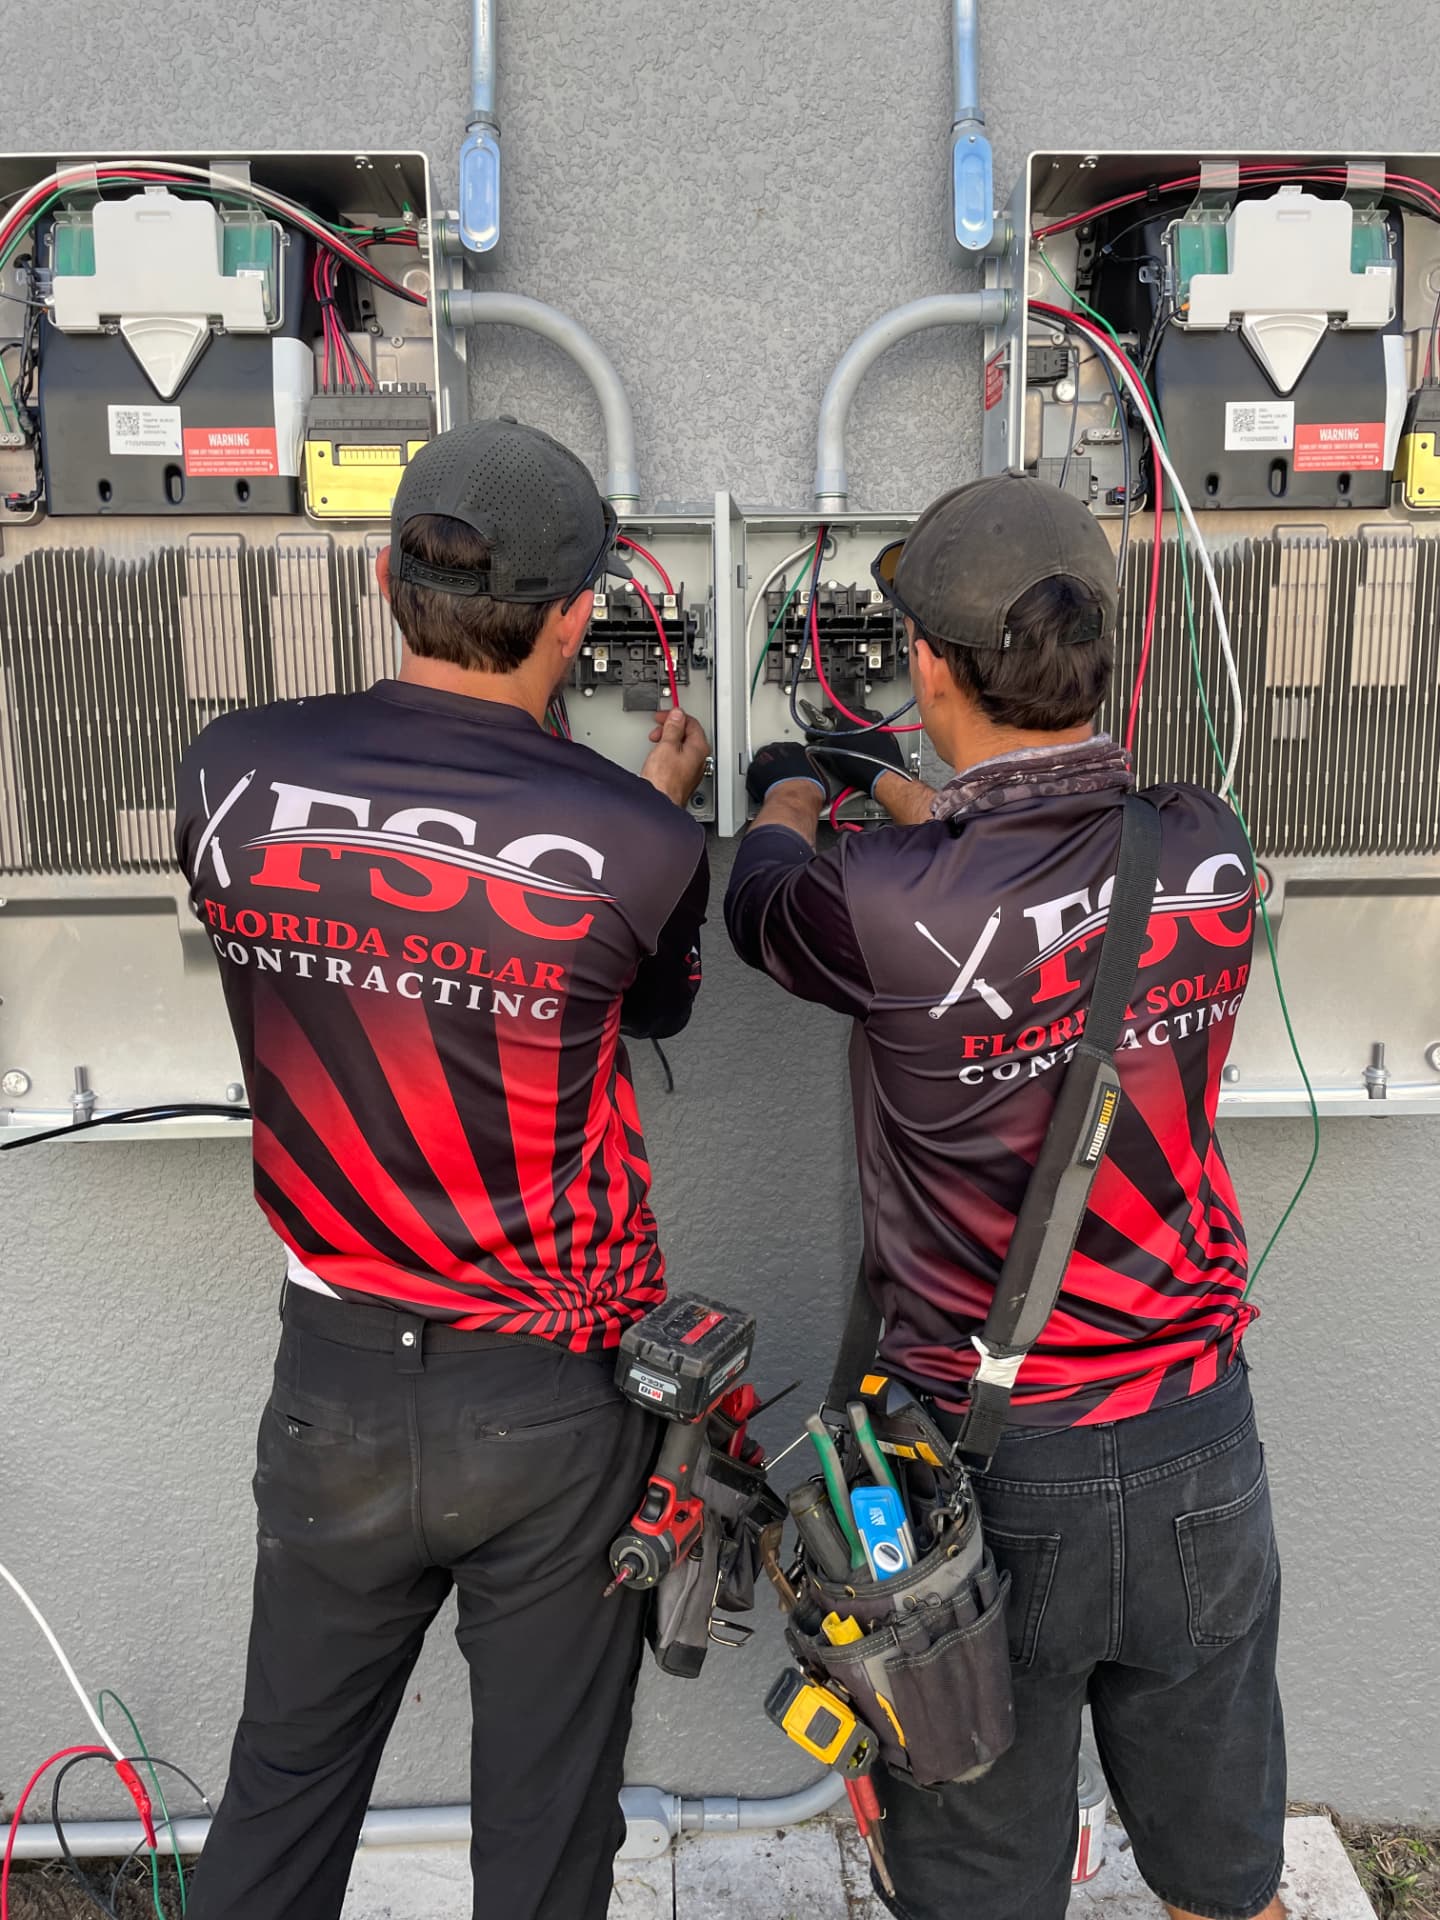
Step 13
We Check Out With the Homeowner
- Before we leave, we check out with the homeowner and confirm the system is running.
- We show them the production numbers so they can see the system is working as it should.
- We answer any questions they have about the work or the system.
- The work area is cleaned up before we go.